
Map Levels
Current Redmoon Fantasy progression flow, travel notes, and level requirements.
Current Leveling Flow
Redmoon Fantasy now runs a level 10,000 progression. These are the current forward-progression requirements used by the server. Normal exits, backtracking, hospitals, and map returns should not trap players behind forward level gates.
Current character EXP: ordinary progression maps from Spaceship onward award 20% less monster EXP than their immediately previous rate, compounding the earlier 15% map reduction. Himalayan Dungeon 4 and earlier maps are unchanged; ordinary Spaceship rewards remain above Dungeon 4 per kill. This adjustment is character-only and excludes BattleMatch mirrors and Pet Trials.
Levels 9,900–9,999: eligible character monster EXP gains, including group awards, are additionally halved for each recipient in this range. The existing final-level requirements and stored EXP are unchanged. At level 10,000, character EXP can still be stored for Sunset upgrades under its existing caps. Pet EXP is unchanged by both reductions. Per-kill rewards do not promise identical leveling time across maps or builds. See the Quest Guide for the easier Quest 25 and 26 evidence rules.
| Step | Location | Required Level | Notes | Map Preview |
|---|---|---|---|---|
| 1 | Street 2 | 1+ | Starter leveling and early drops. | 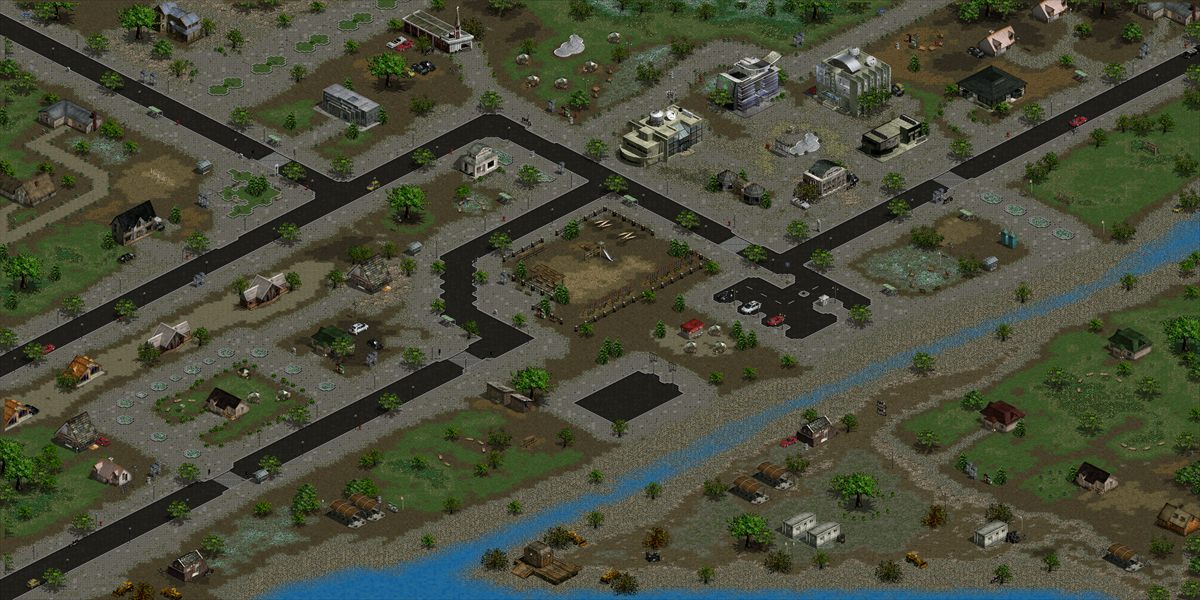 Open map Open map |
| 2 | Street 3 | 50+ | Early city progression. | 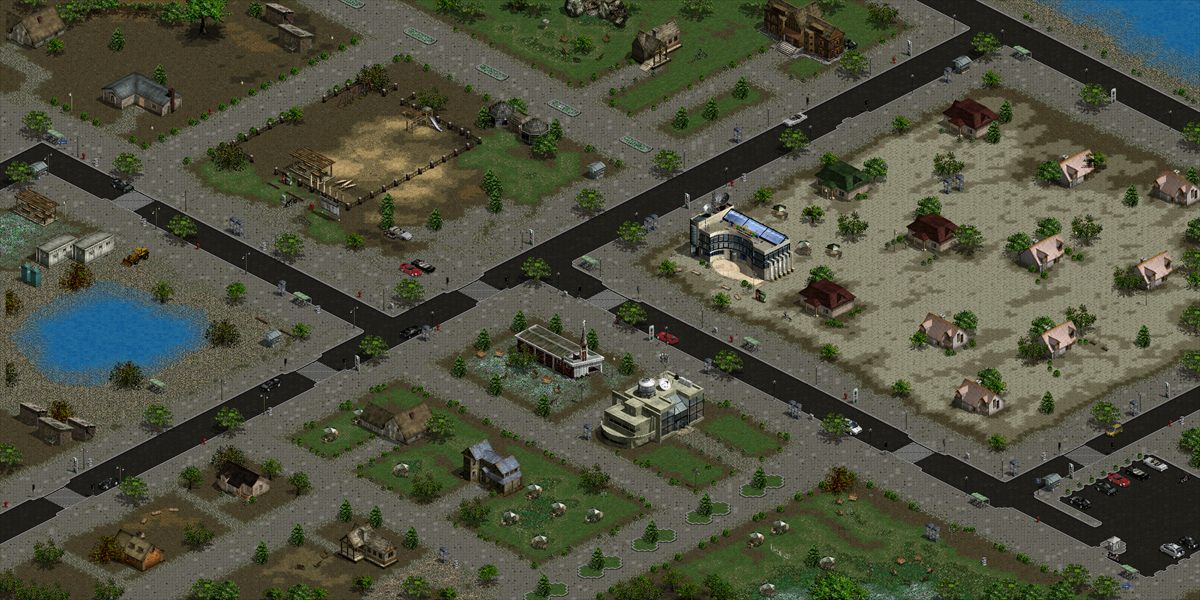 Open map Open map |
| 3 | Street 1 | 100+ | City hub with shops, hospital, message board, and army access. | 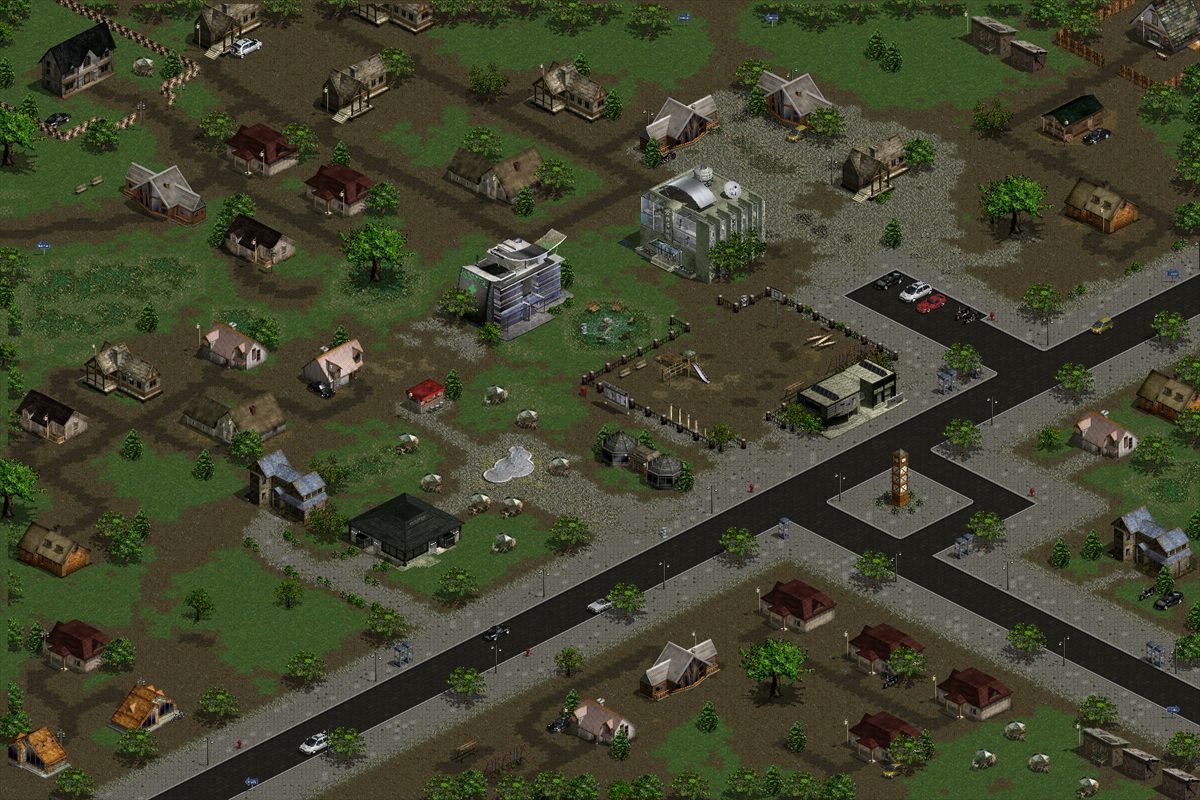 Open map Open map |
| 4 | Junkyard | 150+ | Early monster progression. | 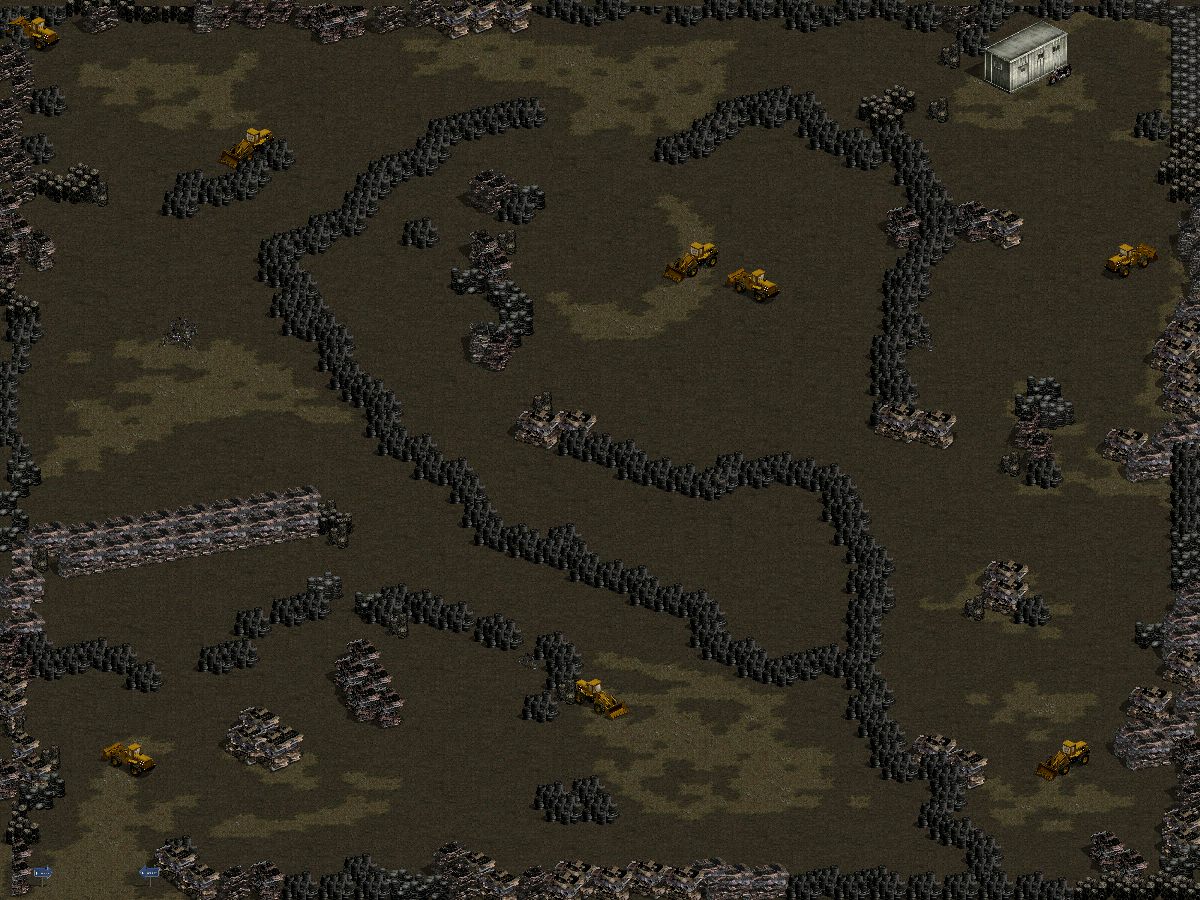 Open map Open map |
| 5 | Backyard | 200+ | Early-to-mid monster progression. | 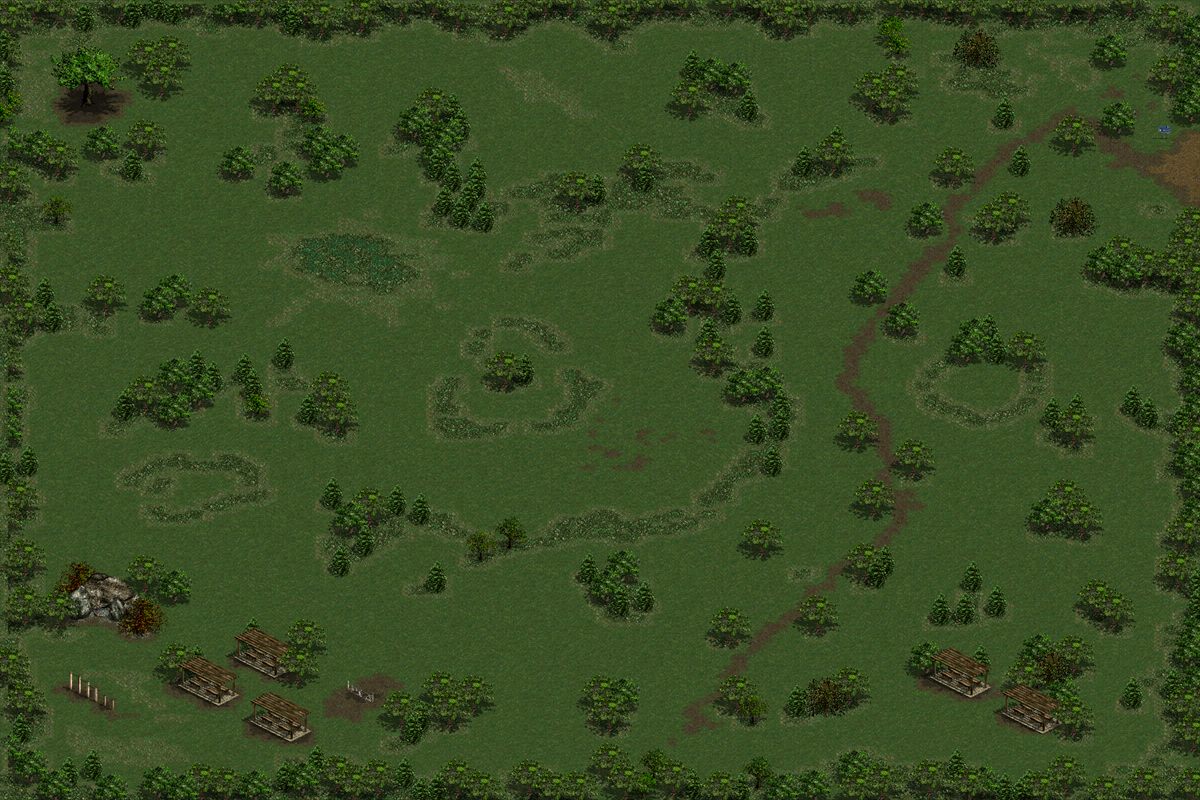 Open map Open map |
| 6 | Downtown 1 | 300+ | Downtown entry, message board, bank, and safe-zone services. | 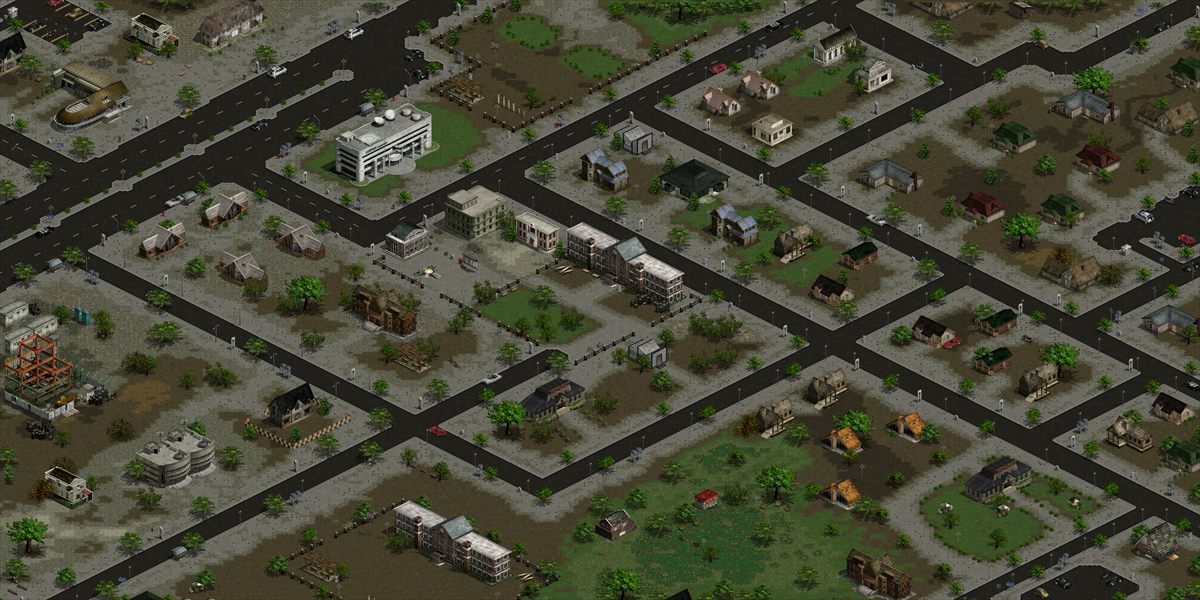 Open map Open map |
| 7 | Downtown 2 | 500+ | Downtown progression. | 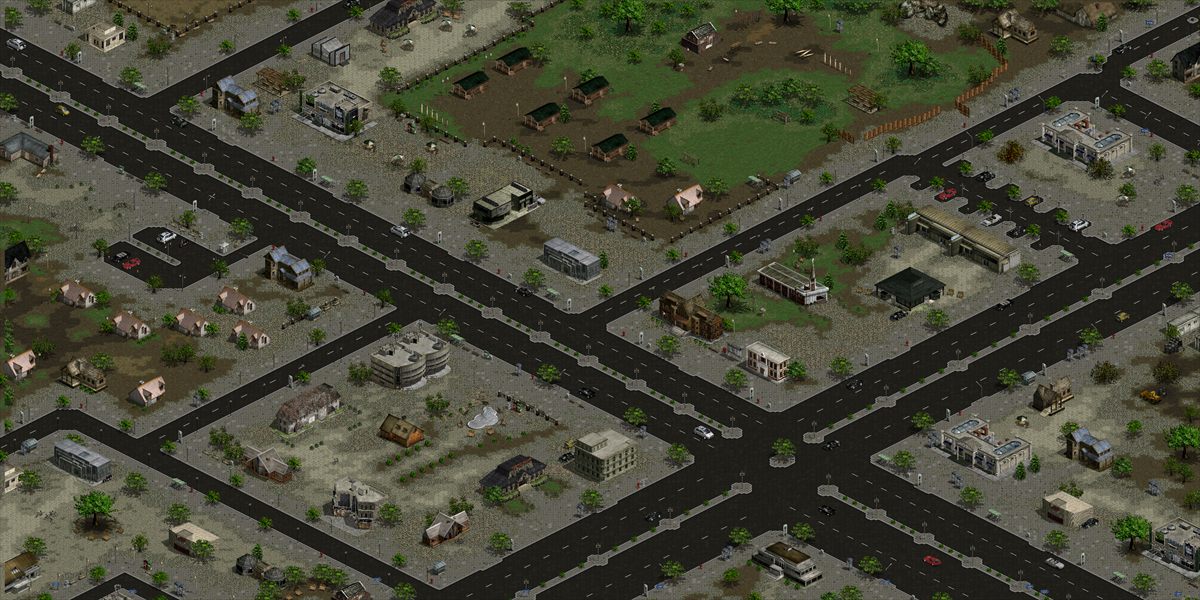 Open map Open map |
| 8 | Downtown 3 | 700+ | Downtown progression with higher EXP than Downtown 2. | 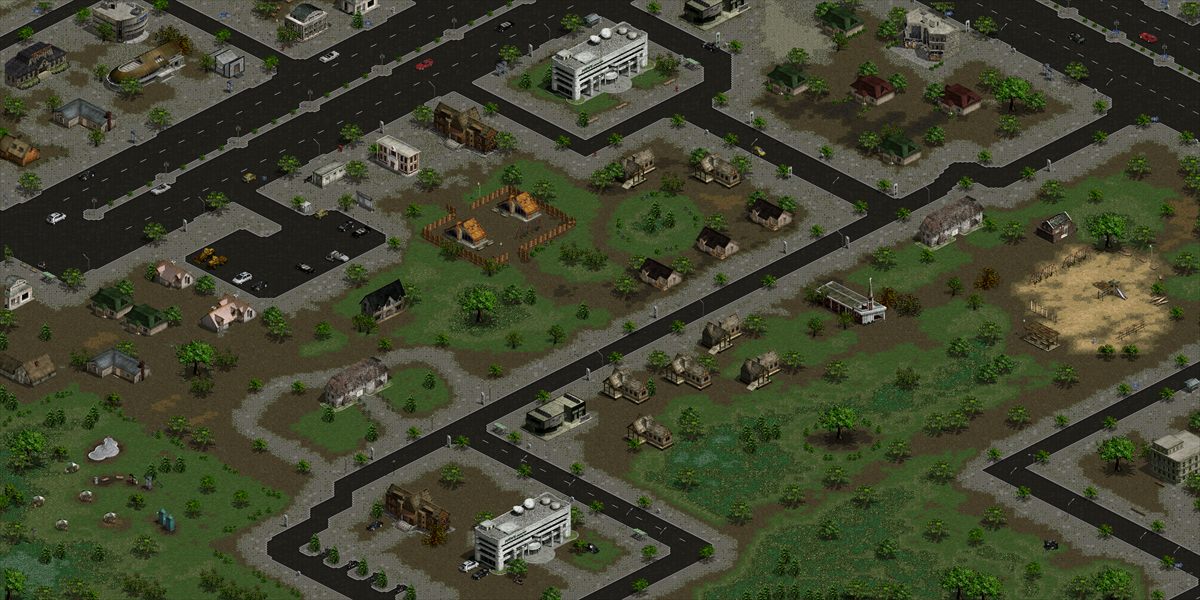 Open map Open map |
| 9 | Downtown 4 | 900+ | Haliport routes to Dokdo, Sahara, and Himalayas. | 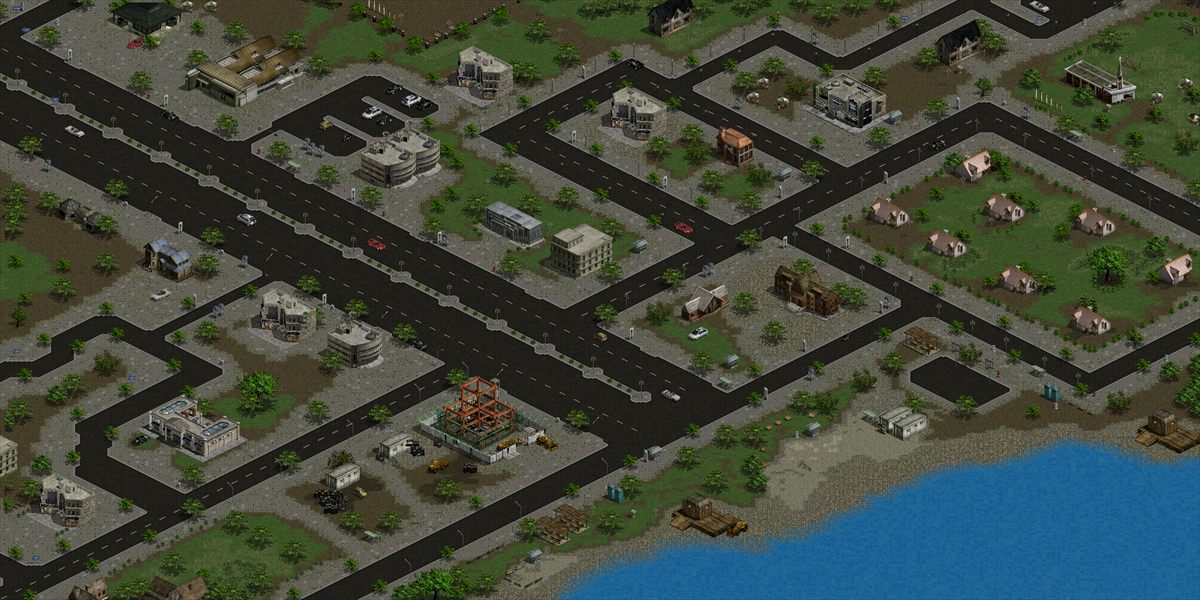 Open map Open map |
| 10 | Sahara 1 | 1,100+ | Sahara entry. | 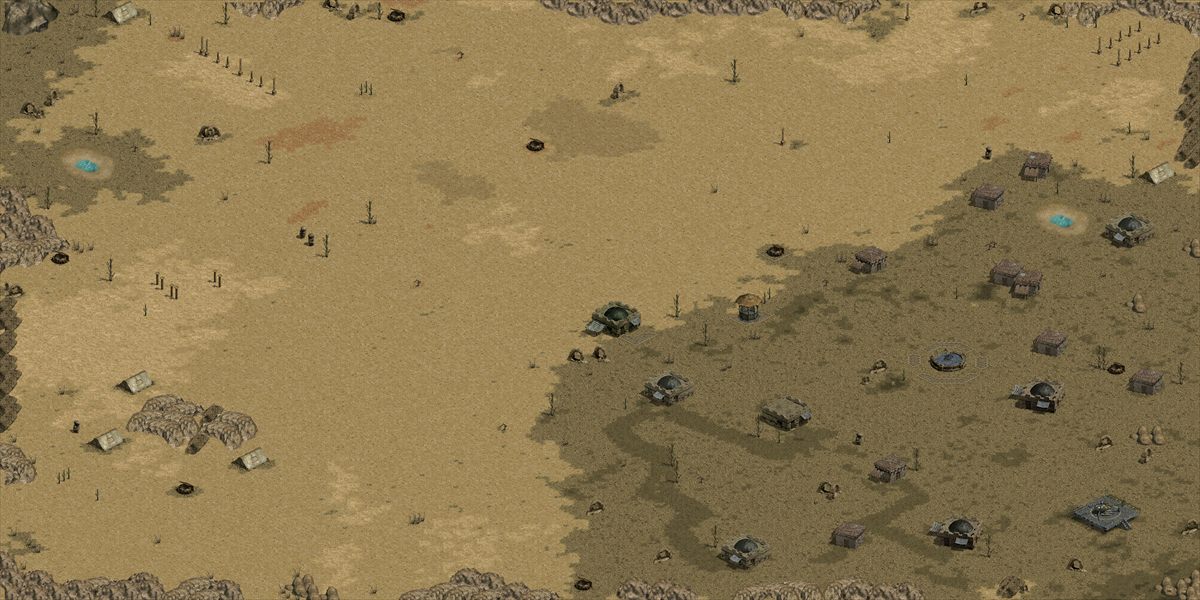 Open map Open map |
| 11 | Sahara 2 | 1,300+ | Leads toward Sahara dungeon maps. | 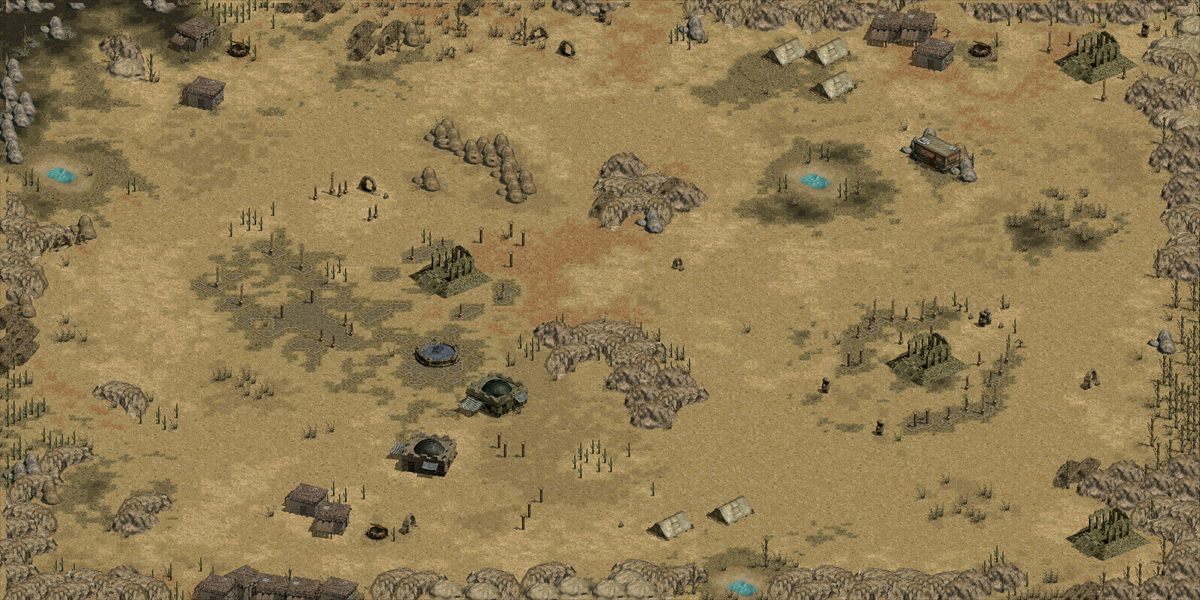 Open map Open map |
| 12 | Sahara Dungeon 1 | 1,500+ | Dungeon progression. | 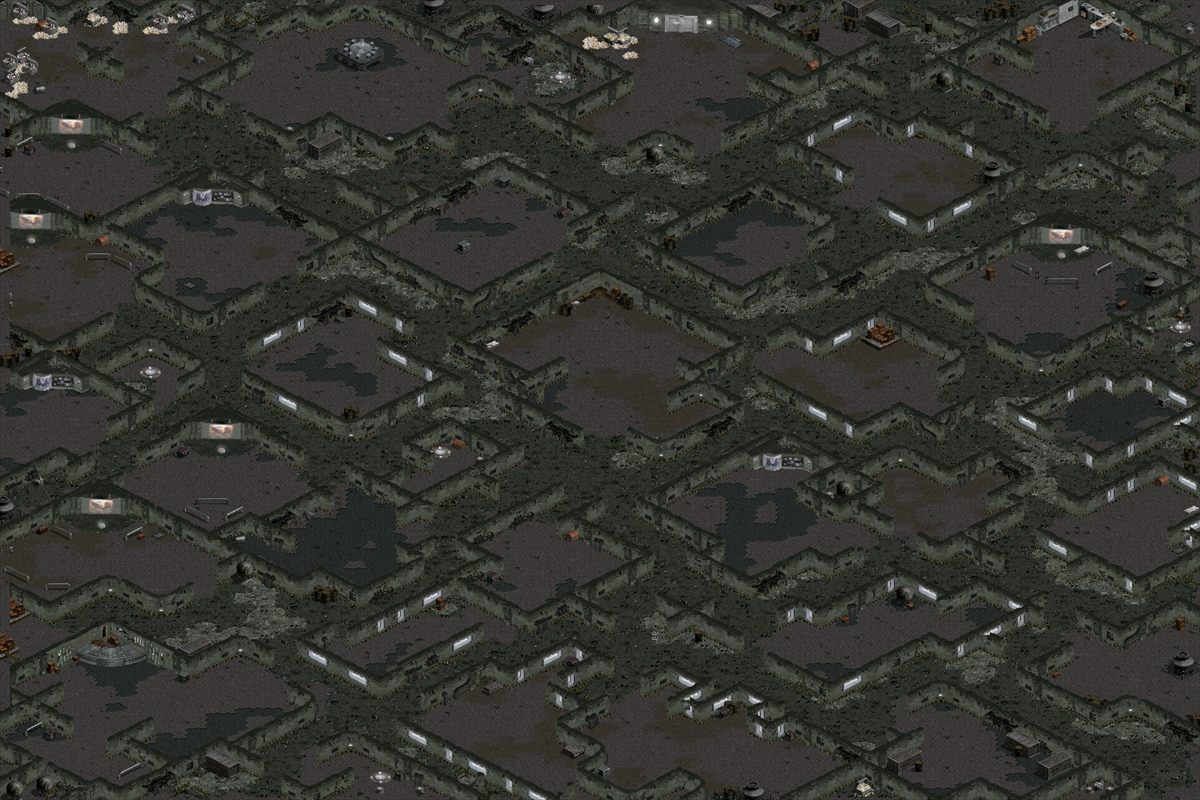 Open map Open map |
| 13 | Sahara Dungeon 2 | 1,750+ | Leads toward Boss Spy Dungeon. | 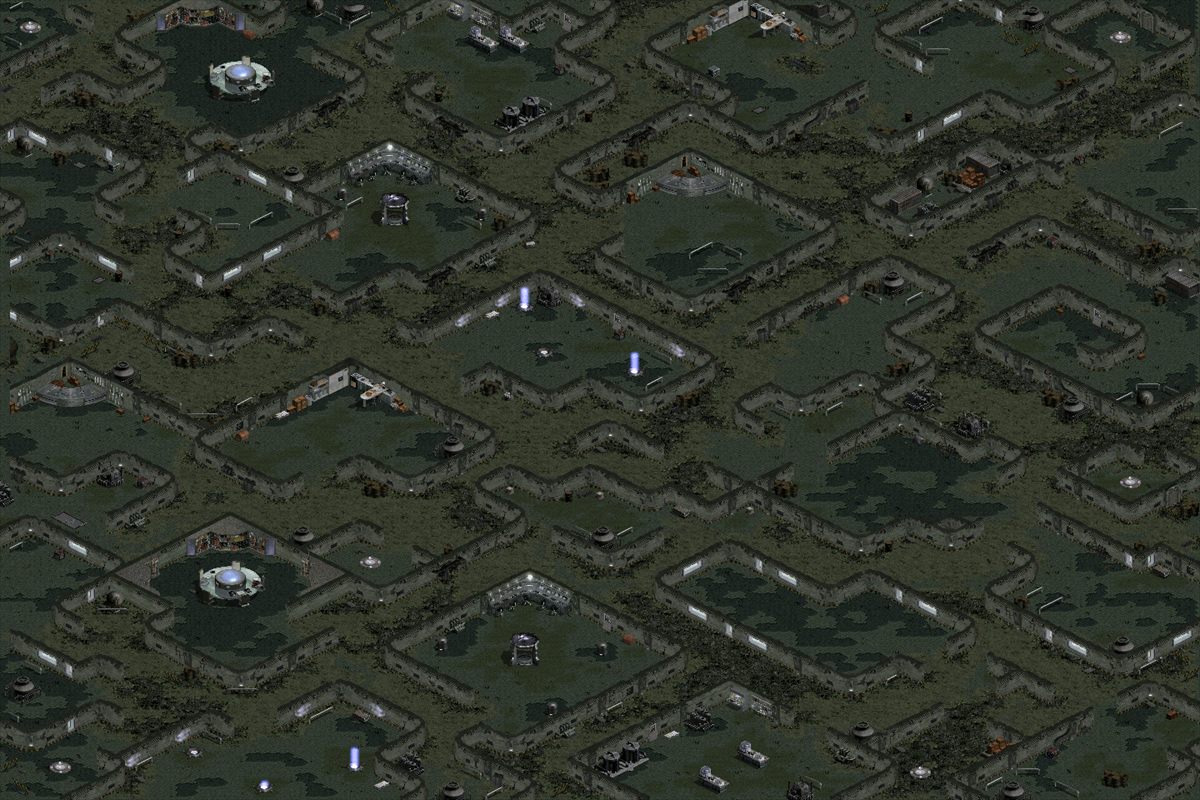 Open map Open map |
| 14 | Boss Spy Dungeon | 2,000+ | Sahara boss progression. | 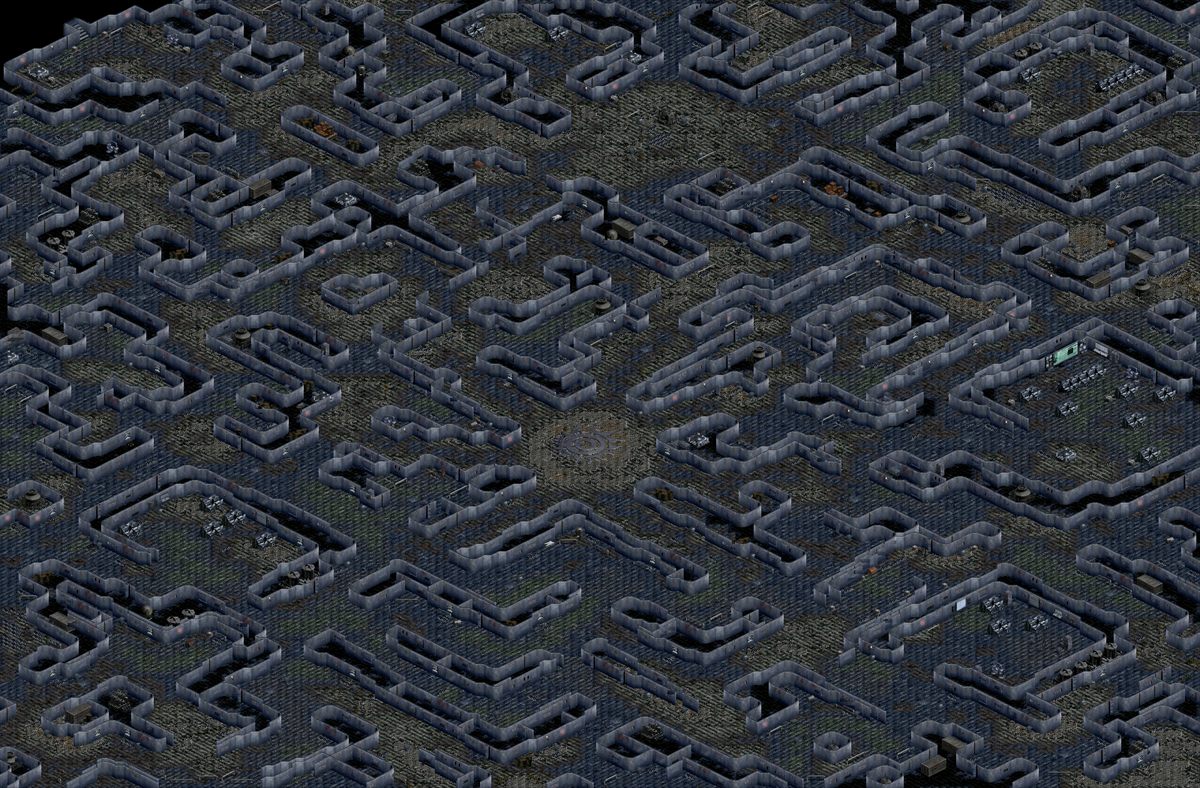 Open map Open map |
| 15 | Himalayas | 2,300+ | Himalaya entry; heliport returns to Downtown 4. | 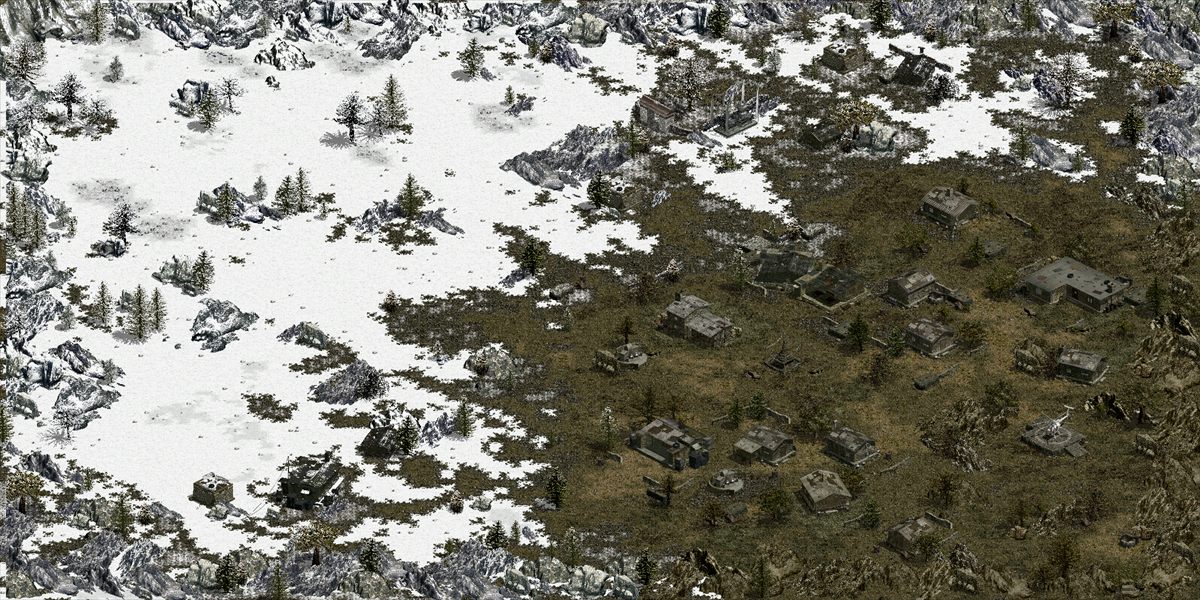 Open map Open map |
| 16 | Himalayan Dungeon 1 | 2,500+ | Uses green aura teleporters for clean dungeon travel. | 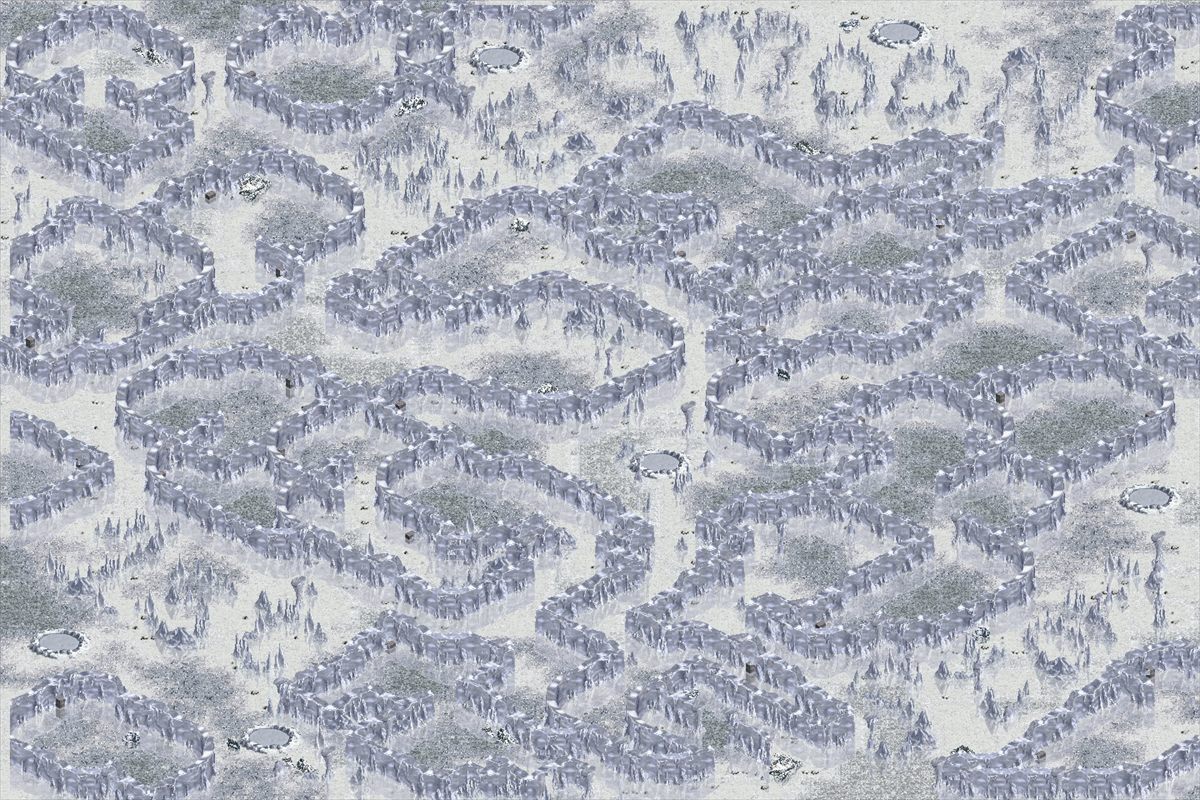 Open map Open map |
| 17 | Himalayan Dungeon 2 | 2,700+ | Higher EXP and drops than Himalayan Dungeon 1. | Open map |
| 18 | Himalayan Dungeon 3 | 2,900+ | Higher EXP and drops than Himalayan Dungeon 2. | Open map |
| 19 | Himalayan Dungeon 4 | 3,100+ | Teleporter routes forward to Spaceship when eligible. | Open map |
| 20 | Spaceship | 3,300+ | Active monster map between Himalayan Dungeon 4 and Freedom Village. | 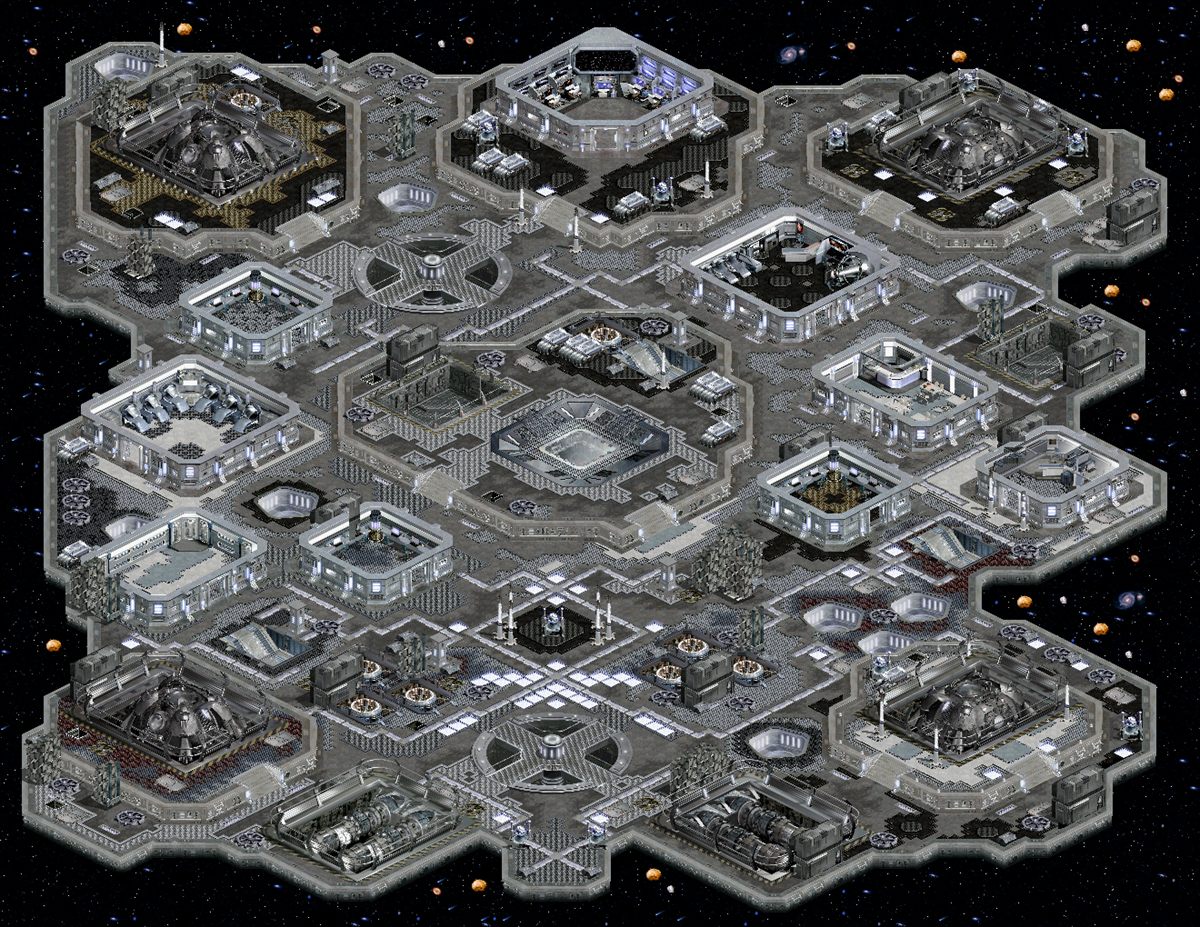 Open map Open map |
| 21 | Freedom Village | 3,600+ | High-level hub with shop, bank, sunset upgrade NPC, and spaceport routes. | 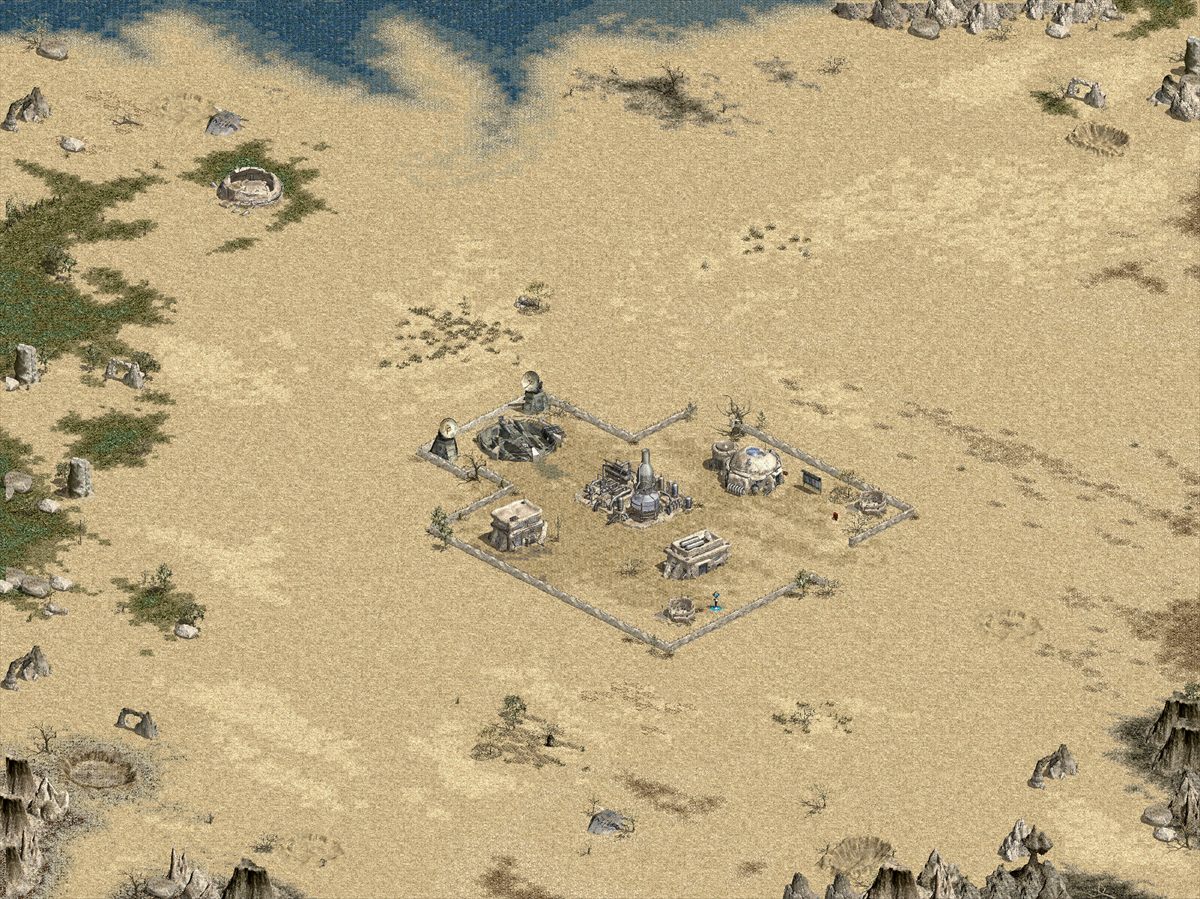 Open map Open map |
| 22 | SignusAX-1 | 3,900+ | Signus progression with working hospital and shop routes. | 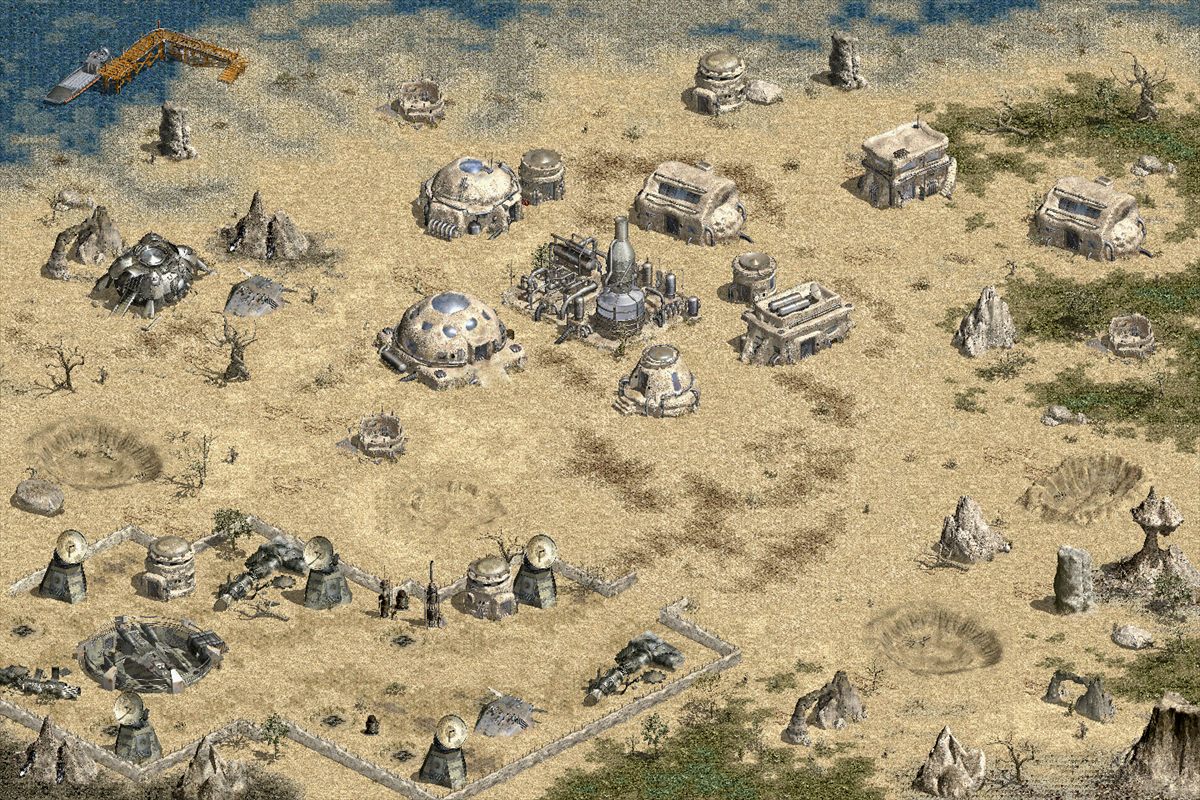 Open map Open map |
| 23 | SignusBX-1 | 4,200+ | Signus progression and Signus Valley return route. | 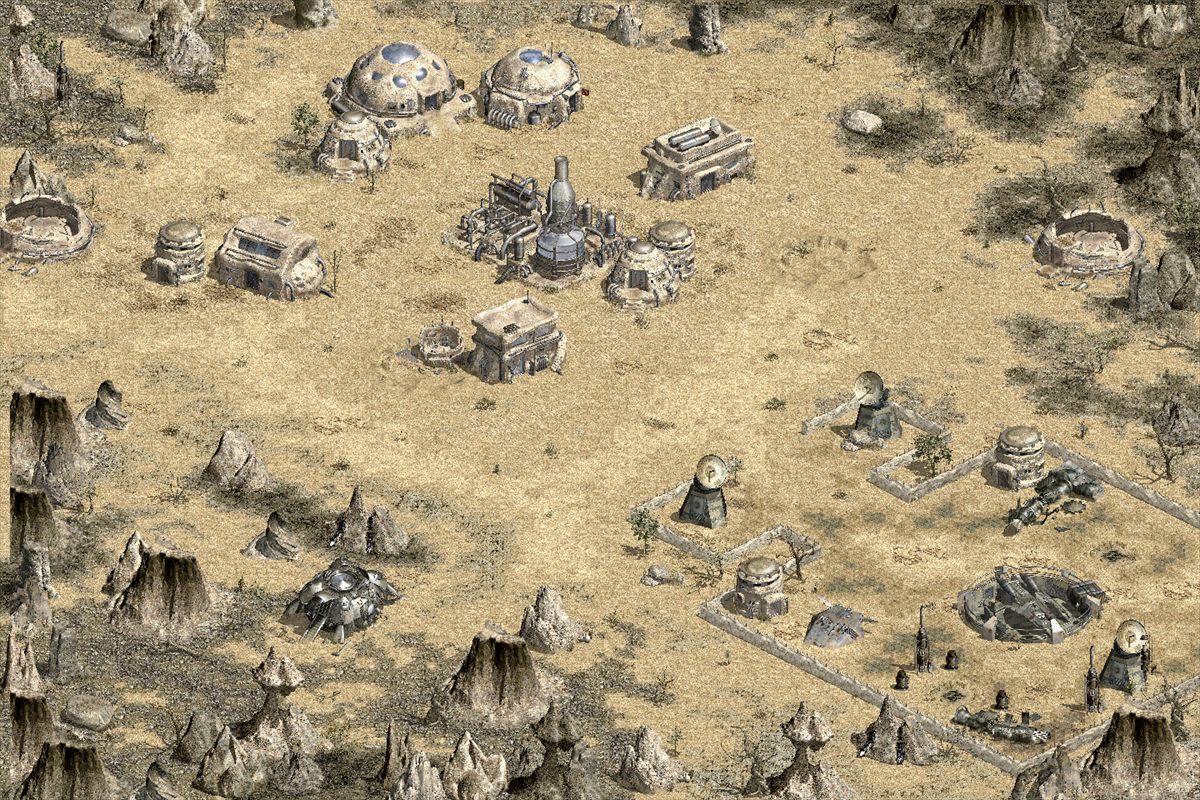 Open map Open map |
| 24 | SignusCX-1 | 4,500+ | Signus progression. | 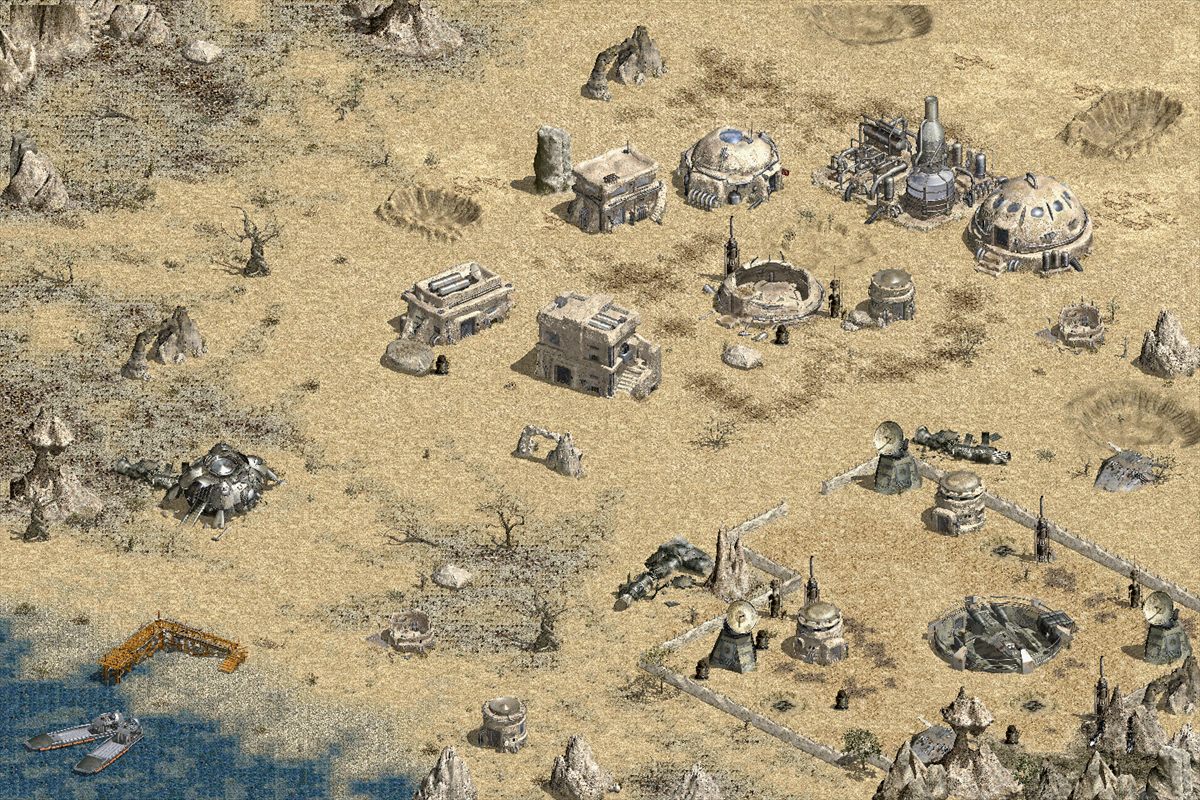 Open map Open map |
| 25 | SignusDX-1 | 4,800+ | Signus progression. | 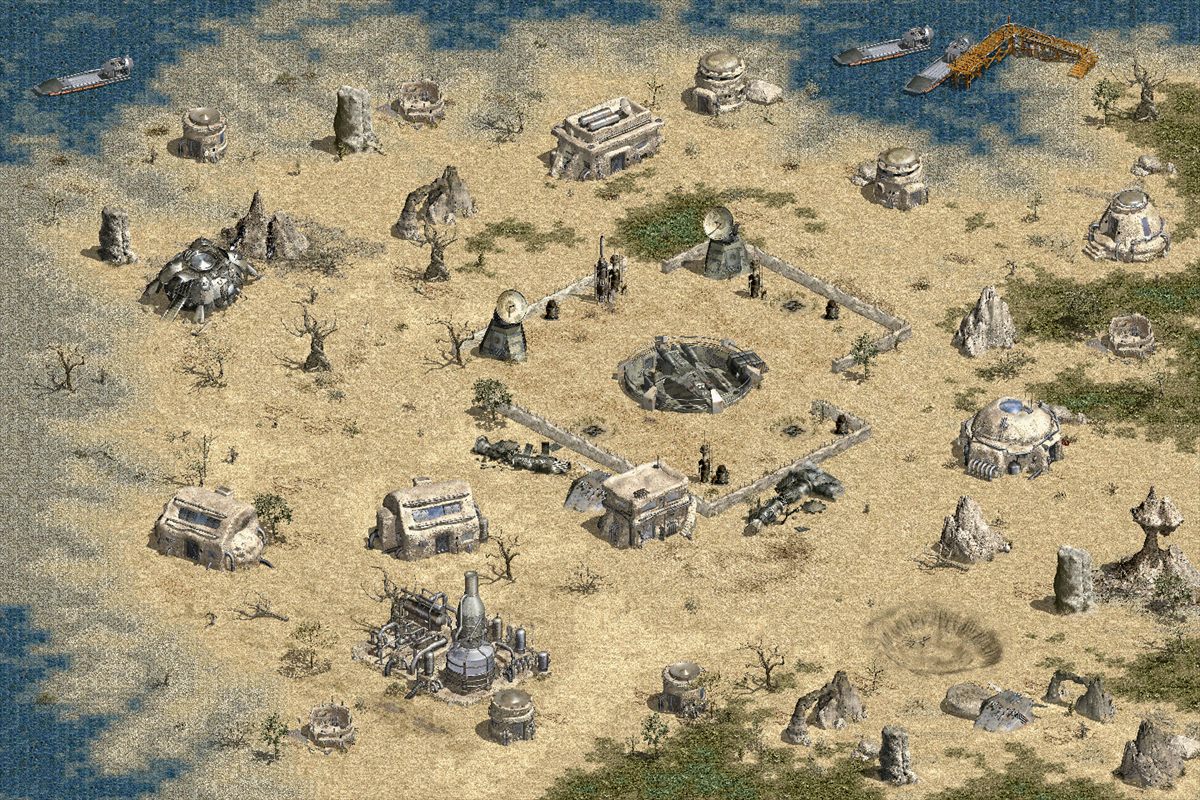 Open map Open map |
| 26 | Uni | 5,100+ | Space map progression; spaceport returns to Freedom Village. | 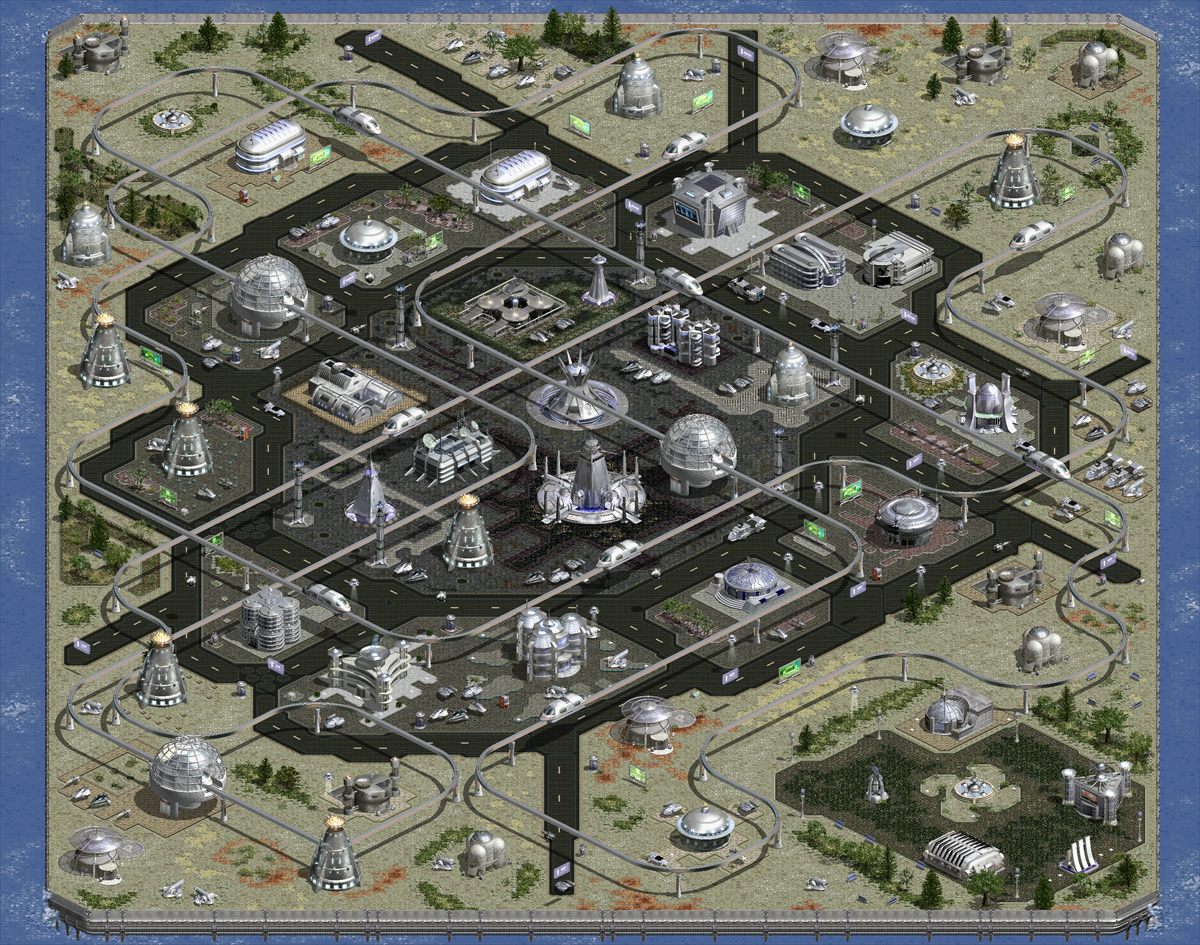 Open map Open map |
| 27 | Anatu | 5,400+ | Space map progression. | 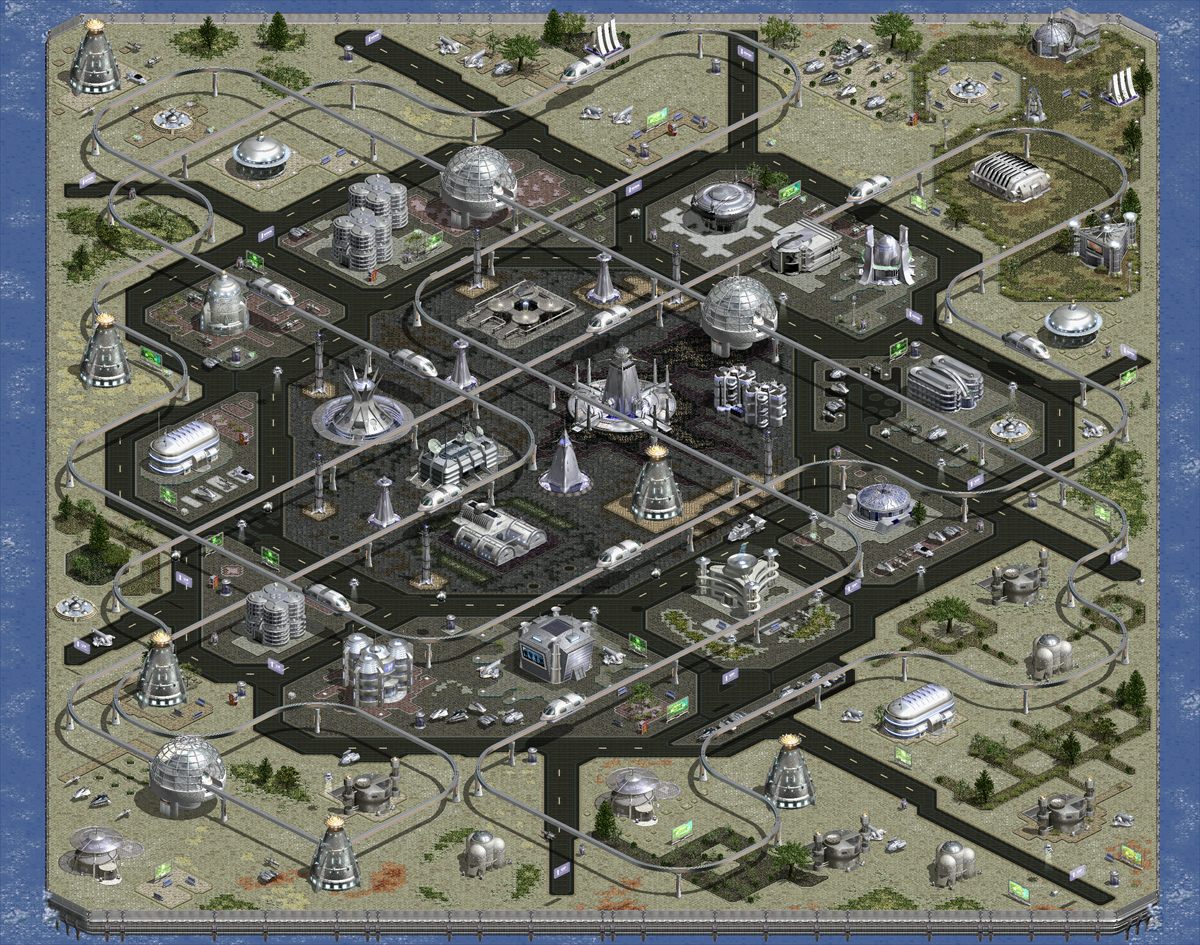 Open map Open map |
| 28 | Bau | 5,700+ | Space map progression. | 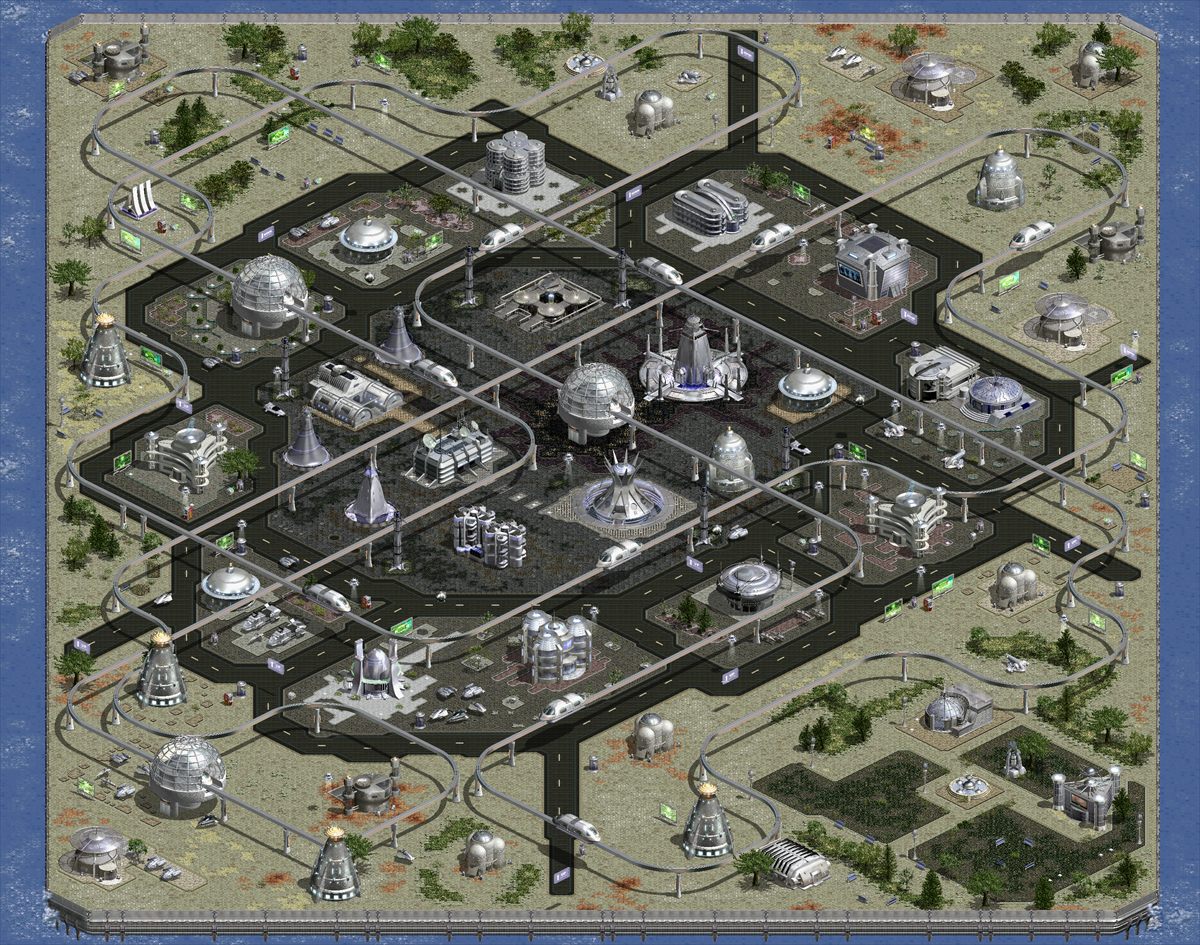 Open map Open map |
| 29 | Cyrn | 6,000+ | Space map progression. | 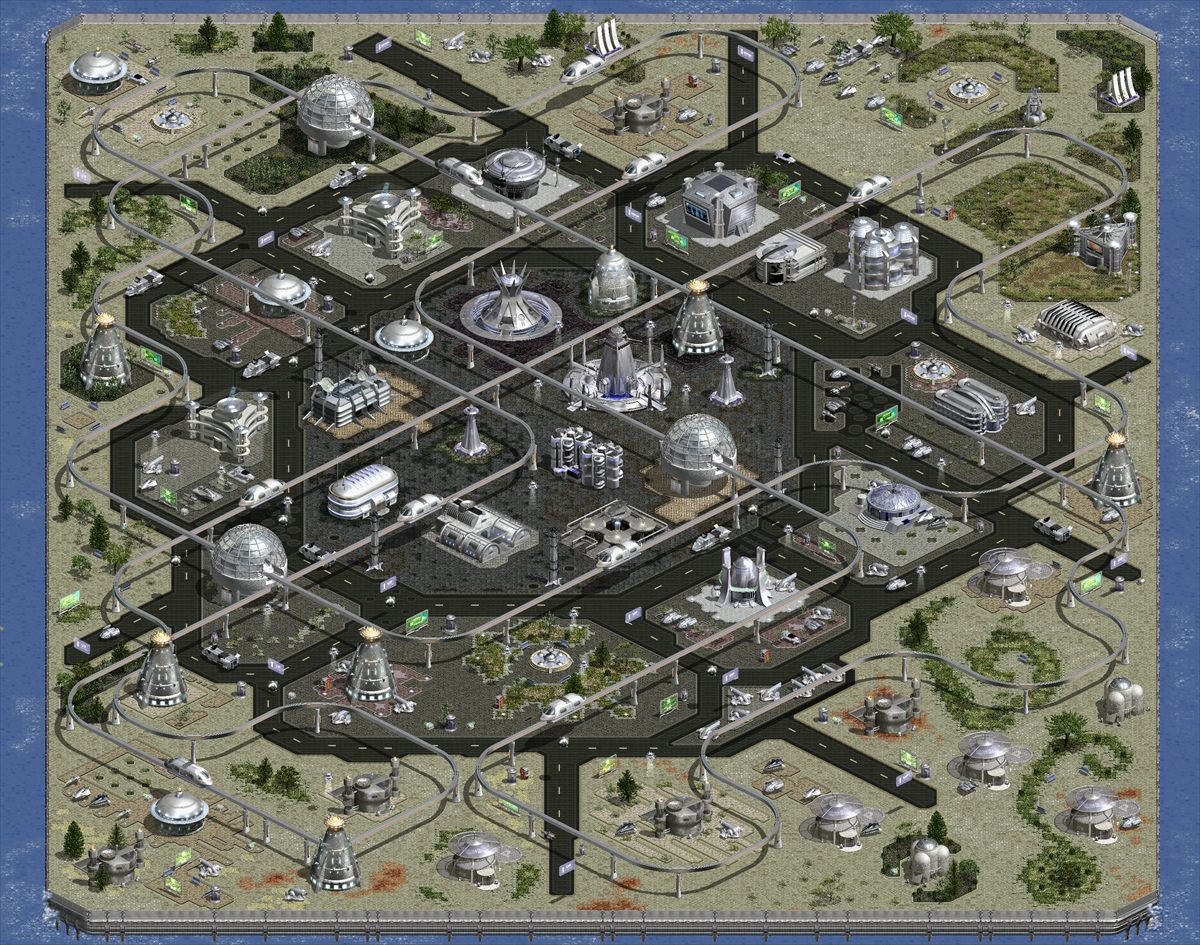 Open map Open map |
| 30 | Dyaus | 6,300+ | Space map progression. | 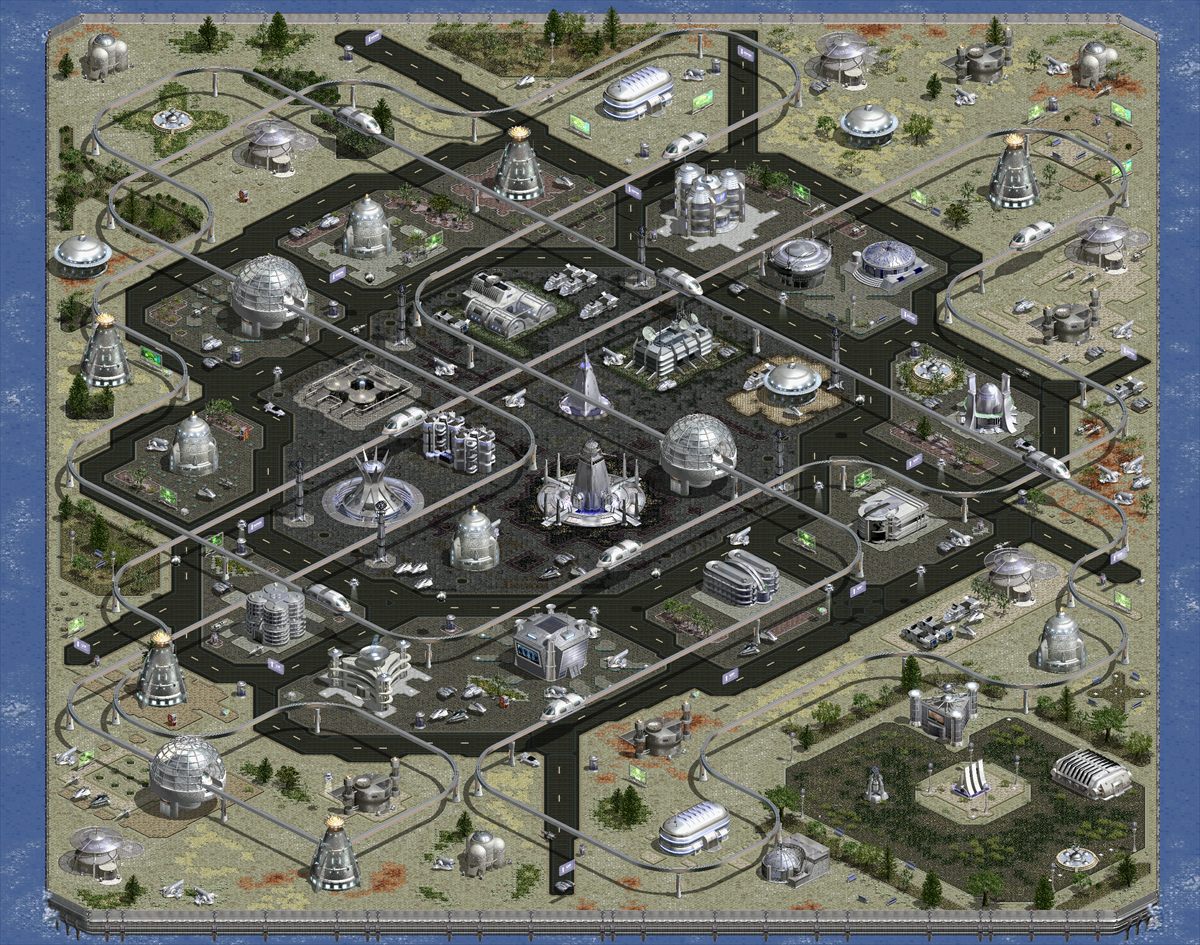 Open map Open map |
| 31 | Signus Valley | 6,600+ | Bridge from the Sky maps into the endgame dungeons, with five escalating native monster families. | 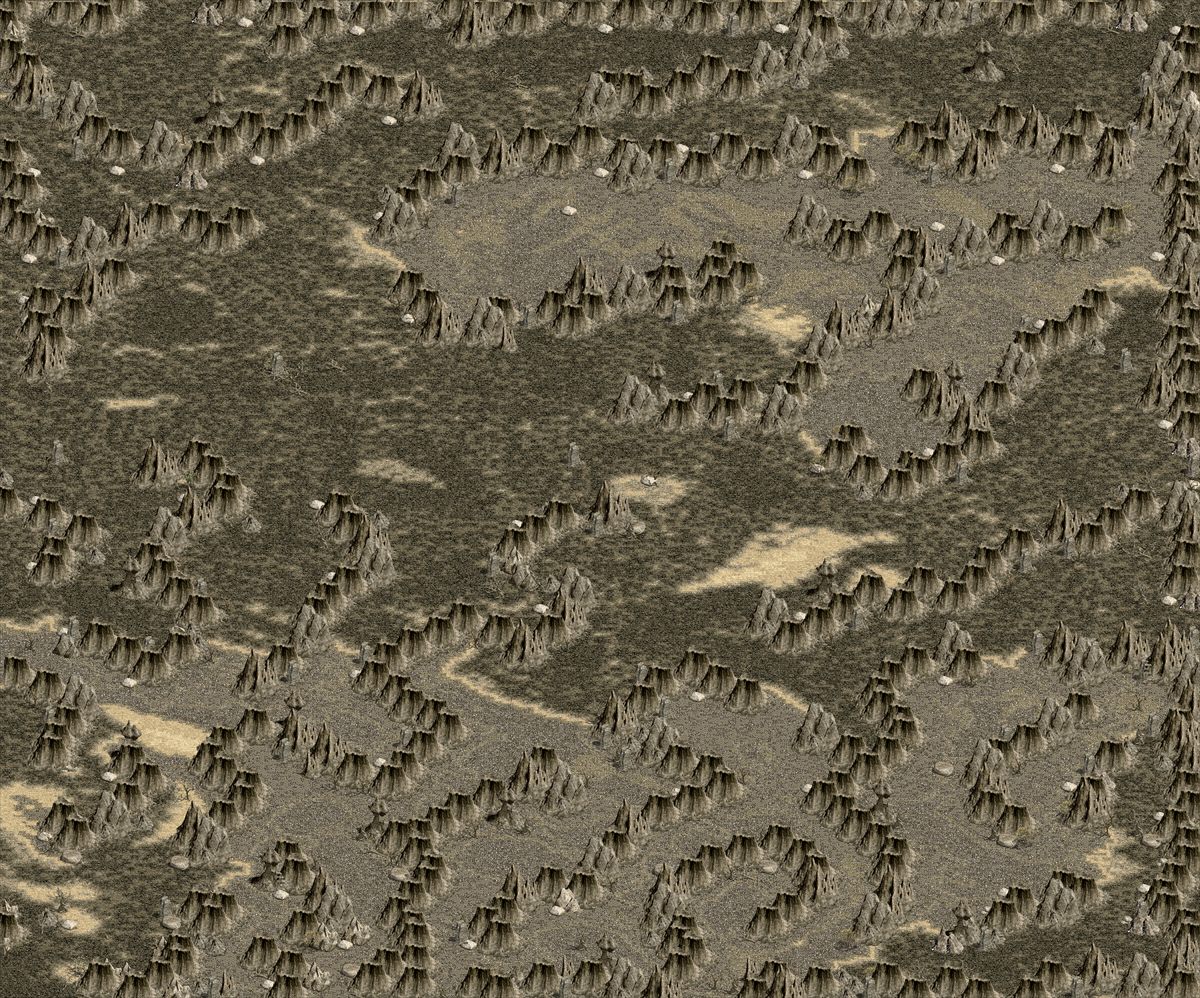 Open map Open map |
| 32 | Uni Dungeon | 6,900+ | Endgame dungeon progression. | 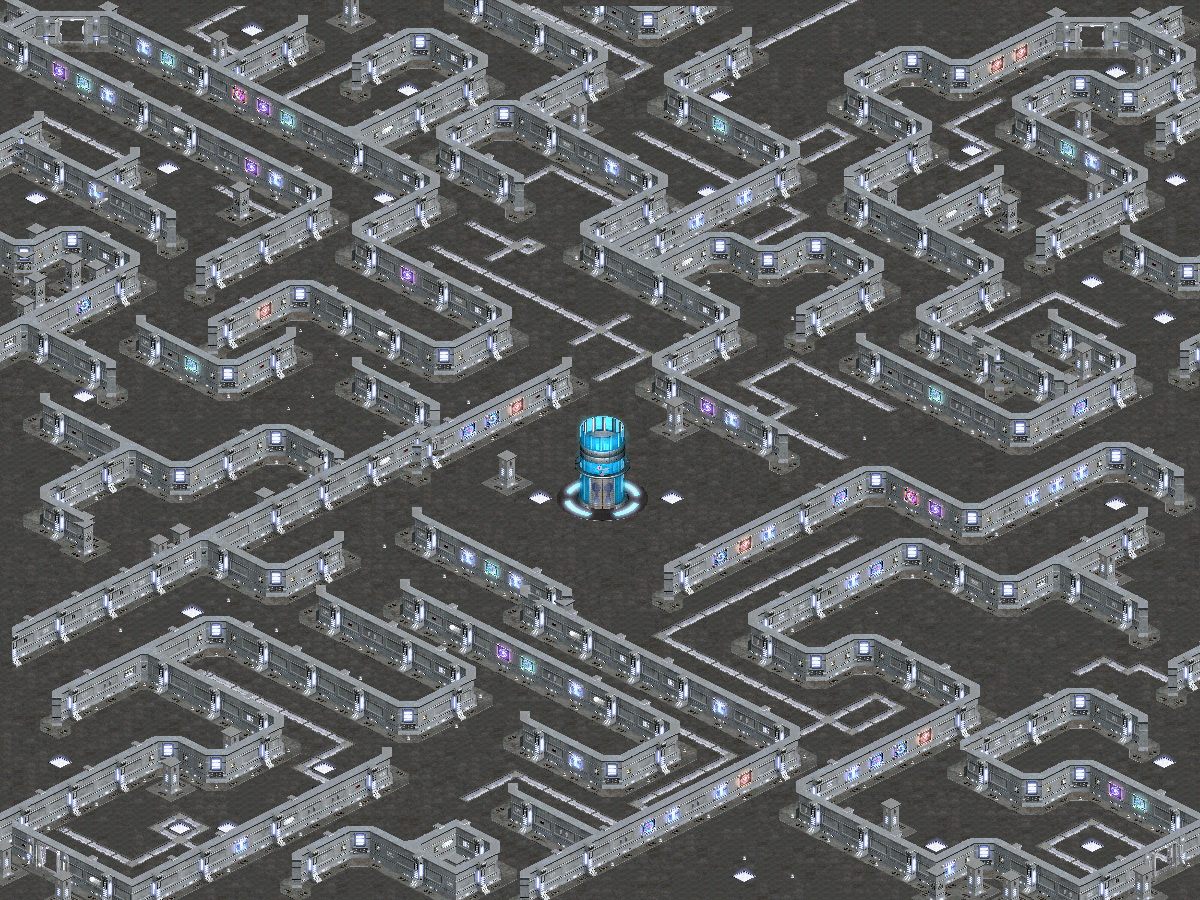 Open map Open map |
| 33 | Anatu Dungeon | 7,200+ | Endgame dungeon progression. | Open map |
| 34 | Bau Dungeon | 7,500+ | Endgame dungeon progression. | Open map |
| 35 | Cyrn Dungeon | 7,800+ | Endgame dungeon progression. | Open map |
| 36 | Dyaus Dungeon | 8,100+ | Endgame dungeon progression. | Open map |
| 37 | School Dungeon 1 | 8,400+ | Late endgame progression with green aura teleporters. | 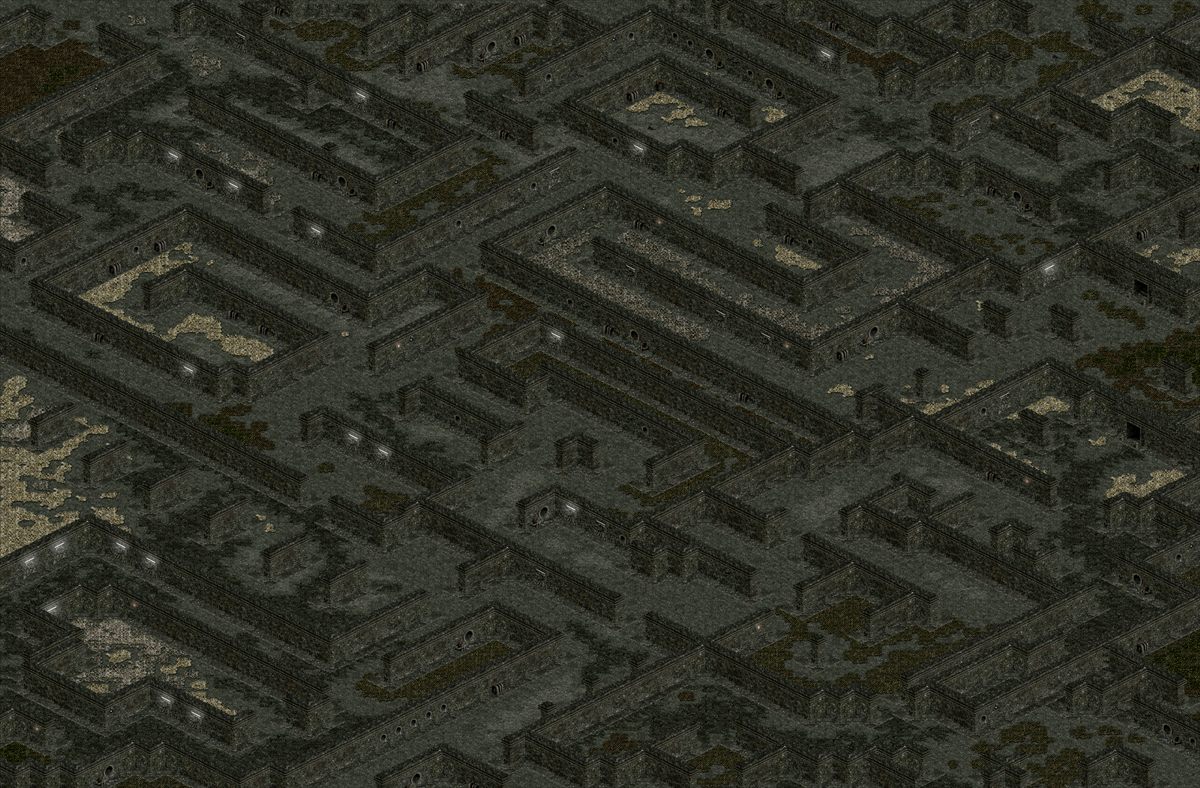 Open map Open map |
| 38 | School Dungeon 2 | 8,700+ | Late endgame progression. | 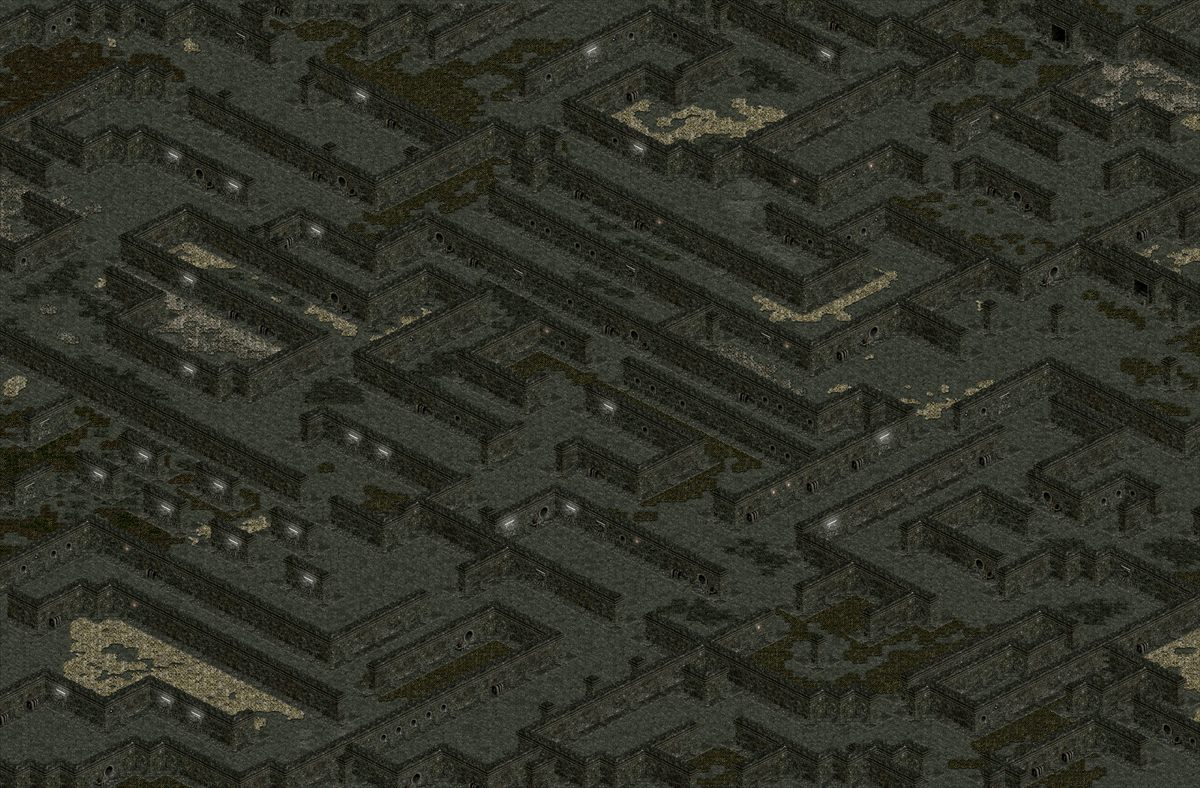 Open map Open map |
| 39 | School Dungeon 3 | 9,000+ | Late endgame progression. | 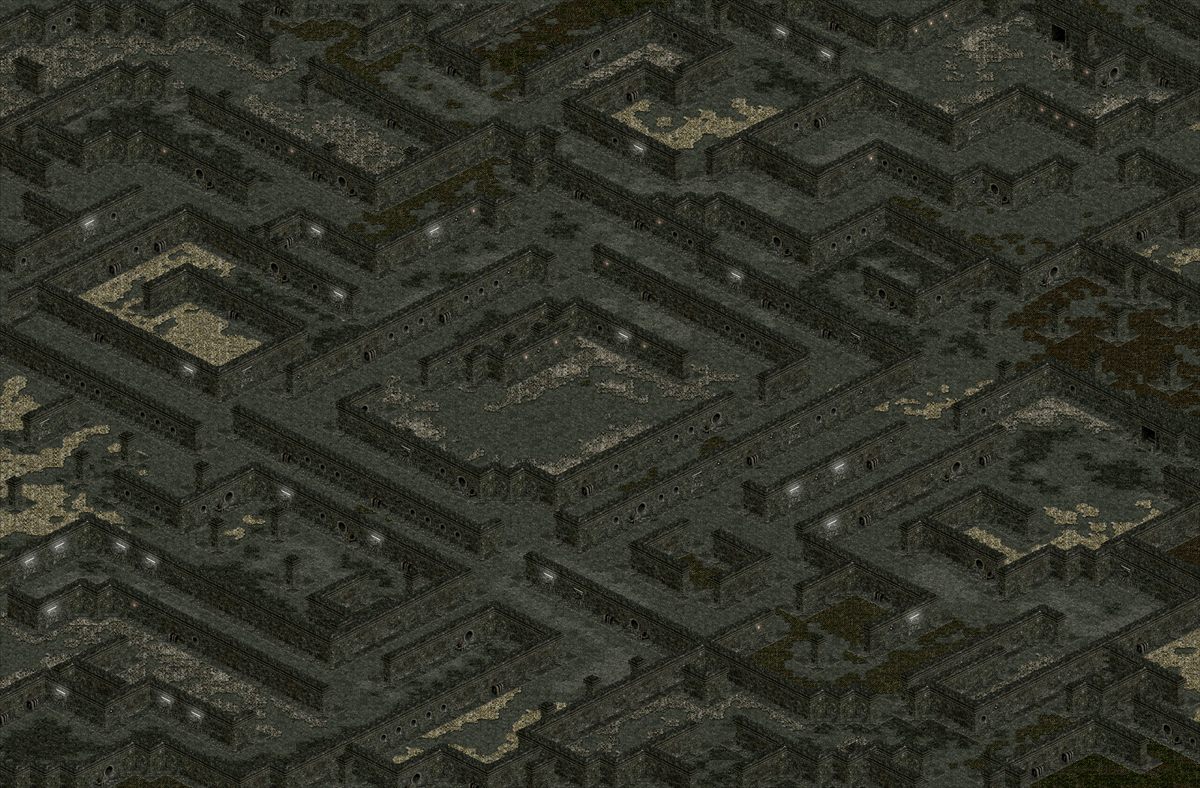 Open map Open map |
| 40 | Superior Desert | 9,300+ | High-density endgame event map and Nightmare Frequency assignment area. | Custom layout No matching reference |
| 41 | Superior Junkyard | 9,600+ | Endgame event map and Stronghold Frequency assignment area. | Custom layout No matching reference |
| 42 | Ashen Despair | 10,000+ | Custom volcanic endgame: heat waves, Furnace Tyrant, improved rewards and ultra-rare Fantasy weapons. See the Custom Map guide in Tools. | 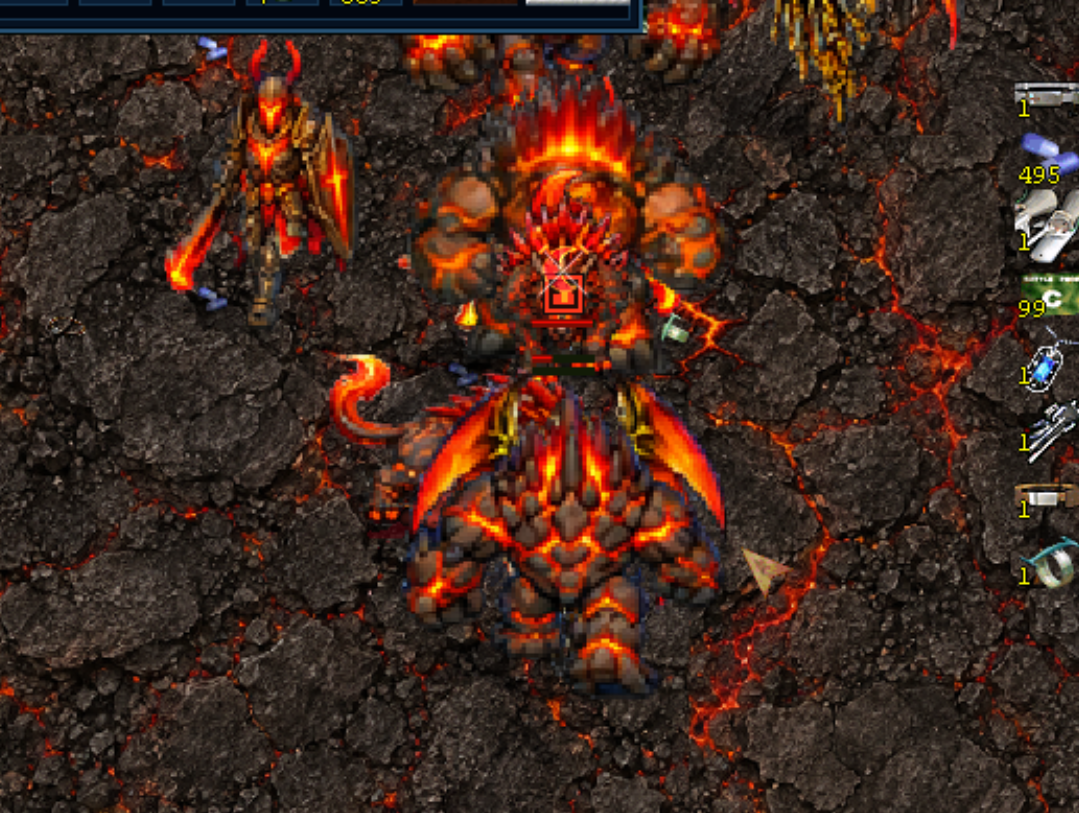 Open map Open map |
Travel Notes
Custom Map: Ashen Despair guide — screenshots, heat protection, monsters, EXP and Fantasy weapon odds.
- Himalayan and School dungeon random floor teleporters have been retired. Use the named green aura teleporters instead.
- Himalayan Dungeon 1–4 unlock at levels 2,500 / 2,700 / 2,900 / 3,100, followed by Spaceship at 3,300. Subsequent maps unlock every 300 levels through Superior Junkyard at 9,600; Ashen Despair remains the level-10,000 destination.
- Himalayan Dungeon 4 routes forward to Spaceship. For Freedom Village (level 3,600+), Superior Desert (level 9,300+), or Superior Junkyard (level 9,600+), use the red Portal Map entrance in Downtown 1 at X101/Y115 and select a destination at the computer. The computer also returns you to Downtown 1 at X107/Y109.
- Ashen heat: every 30 seconds, the map deals 10% of maximum HP. A fire medallion above each character identifies the danger. Filling the five core armor slots—helmet, body, legs, boots and gloves—with Paramount or Fantasy pieces blocks the heat; the two sets may be mixed.
- Dokdo login and return placement should use the helipad so players do not get stuck after reconnecting.
- Downtown 4 Haliport routes to Dokdo, Sahara, and Himalayas. Return routes should place players safely outside the immediate re-entry trigger.
BattleMatch Gauntlet Maps
BattleMatch starts on demand for an existing party of 3–10 level 10,000 characters on separate accounts, public connections, and trusted devices. Any member clicks the board beside the Downtown 1 mailbox; every member receives a Ready Up popup, even on another map. Everyone must confirm within two minutes before the whole party enters. There is no daily attempt limit; eligible parties may run again whenever the prior ready check or expedition has ended. Only one ready check or expedition is active at a time. The roster clears five one-way stages together: each of the four regular stages contains exactly 50 non-respawning enemies, and the advance pad unlocks only after every enemy is defeated. Those regular enemies drop nothing except a small chance of one clear Stage-1 Sunset—no Gold, Tau, ordinary items, Uniques, Protection, or higher-stage Sunsets. Full readiness and expedition rules.
One survivor using an unlocked advance pad moves every surviving member to the next stage. Death, disconnecting, or voluntarily leaving eliminates that character from the current run, and a full-party wipe ends the expedition. The final Sky stage contains only the Eclipse Sovereign. Its eleven rewards never become floor drops: surviving members use a persistent server-authoritative Roll/Pass panel, with the highest 1–100 roll winning each item and ties rerolled.
| Stage | BattleMatch Area | Combat Purpose | Advance Condition | Map Preview |
|---|---|---|---|---|
| 1 | BattleMatch Backyard - Red | Opening team clear with Green Wyvern combat pressure. | Defeat all 50 current-run enemies. | Open map |
| 2 | BattleMatch Junkyard - Red | Stronger Blue Wyvern damage pressure and attack tempo. | Defeat all 50 current-run enemies. | Open map |
| 3 | BattleMatch Himalayan | Red Wyvern pressure tests healing, positioning, and targeting. | Defeat all 50 current-run enemies. | Open map |
| 4 | BattleMatch Spaceship | Black Wyvern pressure provides the hardest regular clear. | Defeat all 50 current-run enemies. | Open map |
| 5 | BattleMatch SkyMap | The Eclipse Sovereign replaces all ordinary Sky enemies. | Defeat the Eclipse Sovereign. | Open map |
Special Maps
-
TV Station Studio 3 (Reserved map):
The obsolete Wyvern encounter has been removed. This studio is reserved for future content. Custom layout
No matching reference -
Unique Trader (Service map):
Uses Durability items, Unique 6 / 200, as purchase currency instead of gold or tau.
 Open map
-
Freedom Village Warehouse (Service map):
Warehouse and bank service map connected from Freedom Village.
 Open map
Reference layouts are optimized, self-hosted previews imported from the Blood Sun Maps and Monsters guide. Redmoon Fantasy includes rebuilt and custom maps, so the live in-game layout remains authoritative.